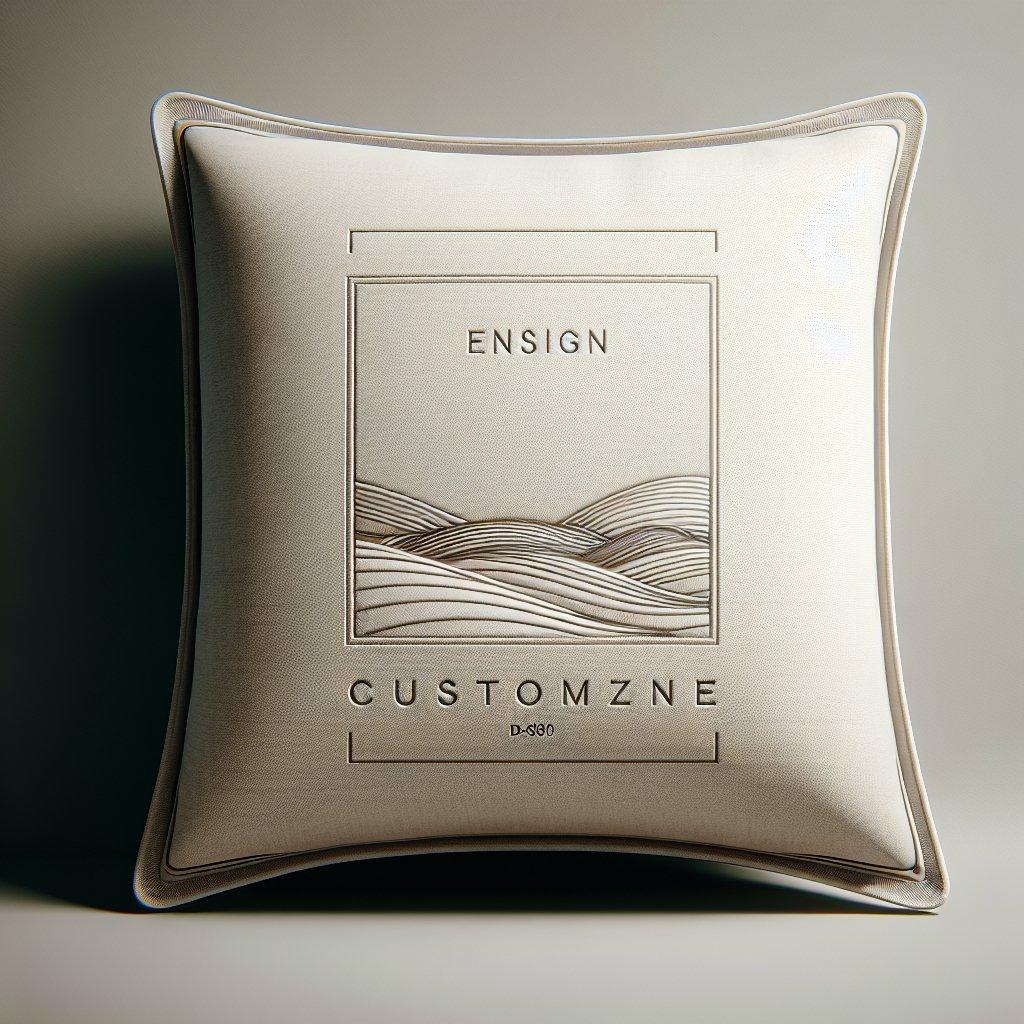
How to make a personalized cushion?
Introduction
The art of personalizing your own cushion
Are you dreaming of creating a unique cushion that adds a personal touch to your home? You've come to the right place. In this article, we'll guide you step by step through making a custom cushion, from selecting materials to the finished product. Whether you're a beginner or an experienced crafter , our comprehensive guide will help you make a cushion that's just right for you.
Part 1: Choosing Materials for Your Custom Pillow
Selecting the Ideal Fabric
Choosing the right fabric is crucial to the success of your custom throw pillow . There are a variety of fabrics available, each with its own characteristics in terms of texture , color , and durability . For decorative pillows , cotton and linen are great choices due to their breathability and softness . For a luxurious look, consider silk or velvet. Synthetic fabrics like polyester are also popular for their stain resistance and durability.
- Cotton and linen : ideal for everyday use thanks to their lightness and ease of maintenance.
- Silk and velvet : perfect for luxurious finishes, creating a sophisticated ambiance.
- Polyester : Durable and easy to clean, great for homes with children or pets.
Choosing the Right Padding
The filling is the key element that determines the comfort of your pillow. You can choose between synthetic fibers such as polyester, which offer good support and are hypoallergenic , or natural materials such as feathers and down which offer incomparable comfort but require more maintenance. There are also eco-friendly options such as kapok or bamboo fibers.
- Synthetic fibers : affordable, hypoallergenic and easy to maintain.
- Feathers and down : offer exceptional comfort, but require careful maintenance to avoid allergens.
- Kapok and bamboo fibers : environmentally friendly, perfect for an eco-responsible home.
Accessories and Ornaments
To give your cushion a personal touch, think about accessories and embellishments . Buttons, embroidery, and ribbons can transform a simple cushion into a work of art. Choose elements that reflect your personal style . For example, wooden buttons for a rustic feel, or beads for a glamorous touch.
- Buttons : varied in shapes and materials, adding a tactile dimension.
- Embroidery : allows you to add delicate and personalized designs.
- Ribbons : Can be used for decorative edging or additional details.
Part 2: Cushion Making Process
Fabric Measurements and Cutting
Accuracy is key when measuring and cutting fabric . Start by deciding how big you want your cushion to be. Use a tape measure to mark the dimensions on the fabric, adding a few inches for seam allowances . Then cut the fabric using sharp scissors to get clean , crisp edges.
- Taking measurements : Trace directly onto the fabric with a textile pencil.
- Add margins : 1 to 2 cm for seams, more if you are making a closure.
- Precise cutting : Use sewing scissors to avoid frayed edges.
Sewing Techniques for a Perfect Finish
Once you have your fabric cut out, it’s time to start sewing . You can opt for hand sewing if you are a fan of traditional methods, or use a sewing machine to save time. To get a nicely finished cushion, use a straight or zigzag stitch technique on the edges. Make sure to leave an opening to insert the stuffing.
- Hand sewing : backstitch for a strong seam.
- Sewing machine : straight stitch for most work, zigzag stitch for edges.
- Leave an opening : approximately 10 cm to insert the padding easily.
Assemble and Fill the Cushion
When all the pieces are sewn together , turn the fabric inside out to hide the seams on the inside. Then fill the cushion with the chosen filling. It is important to distribute the filling evenly to avoid lumps. Close the opening with a discreet seam for a clean finish.
- Turn the fabric over : pay attention to the corners so that they are well formed.
- Padding : Depending on the material, make sure to distribute evenly to avoid lumps.
- Closing the opening : use a fine needle and thread of the same color for an invisible finish.
Part 3: Customization and Finishing
Add Patterns or Monograms
Personalization wouldn’t be complete without unique designs or monograms . Use stencils and fabric paint to add intricate designs. You can also embroider initials or designs for an elegant and personal touch. Feel free to experiment with different colors and techniques to find what works best for you.
- Stencils and paint : ideal for intricate designs and vibrant colors.
- Embroidery : for a more refined and lasting effect, perfect for decorative cushions.
Fabric Painting Techniques
Fabric painting is a great way to add artistic designs to your pillow. Use brushes or stamps to apply the paint. Be sure to place a piece of cardboard inside the pillow to prevent the paint from bleeding through the fabric. Let it dry completely before using your pillow.
- Choice of tools : fine brushes for details, stamps for large areas.
- Protect the fabric : Use cardboard or newspapers to prevent damage.
- Drying time : follow the paint manufacturer's instructions.
Fixing Ornaments and Accessories
Finally, add your chosen accessories and embellishments . Use fabric glue or sew them directly onto the cushion for a durable hold. Make sure all elements are securely attached to prevent them from coming loose over time.
- Textile glue : for items that are difficult to sew.
- Extra stitching : for accessories like buttons, ensures a long-lasting hold.
Conclusion
Enjoy your personalized cushion and share it
You now have a personalized cushion that perfectly reflects your style and preferences . Not only does it add a unique touch to your interior decoration , but it also makes an original gift idea . Don't hesitate to share your creation on social networks to inspire other DIY lovers. Who knows, maybe it will inspire you to create even more!
This article has guided you through each step of creating a custom pillow. By following these instructions, you can be sure to make a pillow that is not only aesthetically pleasing but also durable and comfortable . It's up to you to create and happy creating!
Would you like more articles or tips on creating custom items for your home? Leave us a comment with your ideas and feedback, we would love to read and interact with you!


